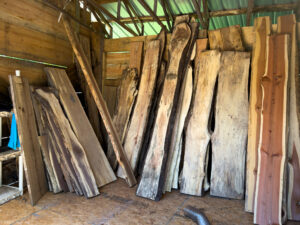
Lets start our Sneak Peek in the Woodshed!
So it starts here… well, this is where we pick up the story anyway. The trees have been cut into sections, milled into slabs, air dried, stacked in a shed or pile to dry, and then they wait. Until someone who can see beyond the ruff dry, batina surface and have the vision to know… you would make a beautiful table.
You should also know, that if you would like to build your own masterpiece, that I do sell live edge slabs directly to the artist. I have rough cut slabs and planned slabs that are air dried and ready to use. My prices are quite affordable and start at $20.00. You should also know that I sell by the slab, and not the board foot, (Don’t know how to calculate board foot? Click here!) saving you quite a bit that you can put into project.
If you plan on doing a few projects on your own, you should also consider getting a moisture meter. There are pin and pin-less models available, this link shows on simular to what I currently use. Don’t know why you should have one? I’ll make sure to cover that in a future post.

A Sneak Peek into the visionary's mind! AKA the artist and the customer!
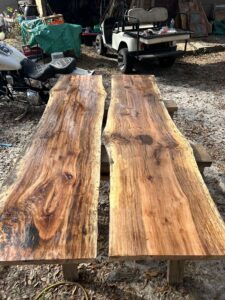
Immerse yourself in this captivating narrative as the mastermind behind the scenes transports us to an exquisite dining experience. Enter a realm where a charming dining table takes center stage, exuding a rustic allure. Envision the resplendent shades of yellows and reds that breathe life into the sweetgum live edge, courtesy of the natural spalting process. Witness the metamorphosis of a dying log into a magnificent work of art, unveiling the hidden intricacies nestled within the wood’s grain. Picture the seamless union of delicate copper-colored epoxy resin, melding the elements together to create a symphony of vibrant hues and unparalleled beauty. Behold an exceptional masterpiece, a true testament to artistic ingenuity and practical functionality. Granted, this remarkable fusion of art and purpose may elude the imagination, particularly when the wood appears rough and unrefined, as depicted in this evocative portrayal.

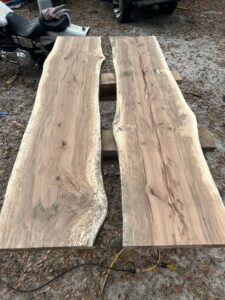
A Sneak Peak at what a splash of water will show us!
The live edge slabs of Sweetgum are planed and sanded, and laid out by the artist. In this photo, the wood has been sprayed with water, the water allows the grain to “pop” and the “look of the wood” with the water gives you an sneak peek of what the finished slabs will look like.
You should also lightly wet the surface inbetween sanding grits (generally I sand 60, 80, 100, and 120 grit), let it dry and sand again.
Have you ever had those moments when you can feel the hair on your arms stand up? The light spray of water on an unfinished slab makes the grain stand up, just like the hair on your arm! If you don’t follow this process before you finish with poly or another finish, the poly will make the grain stand and create a rough texture to your surface and trust me, after all the work to get to this stage, you don’t want that!

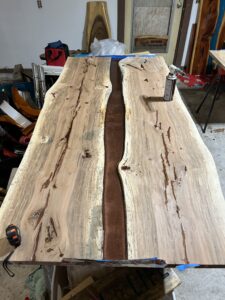
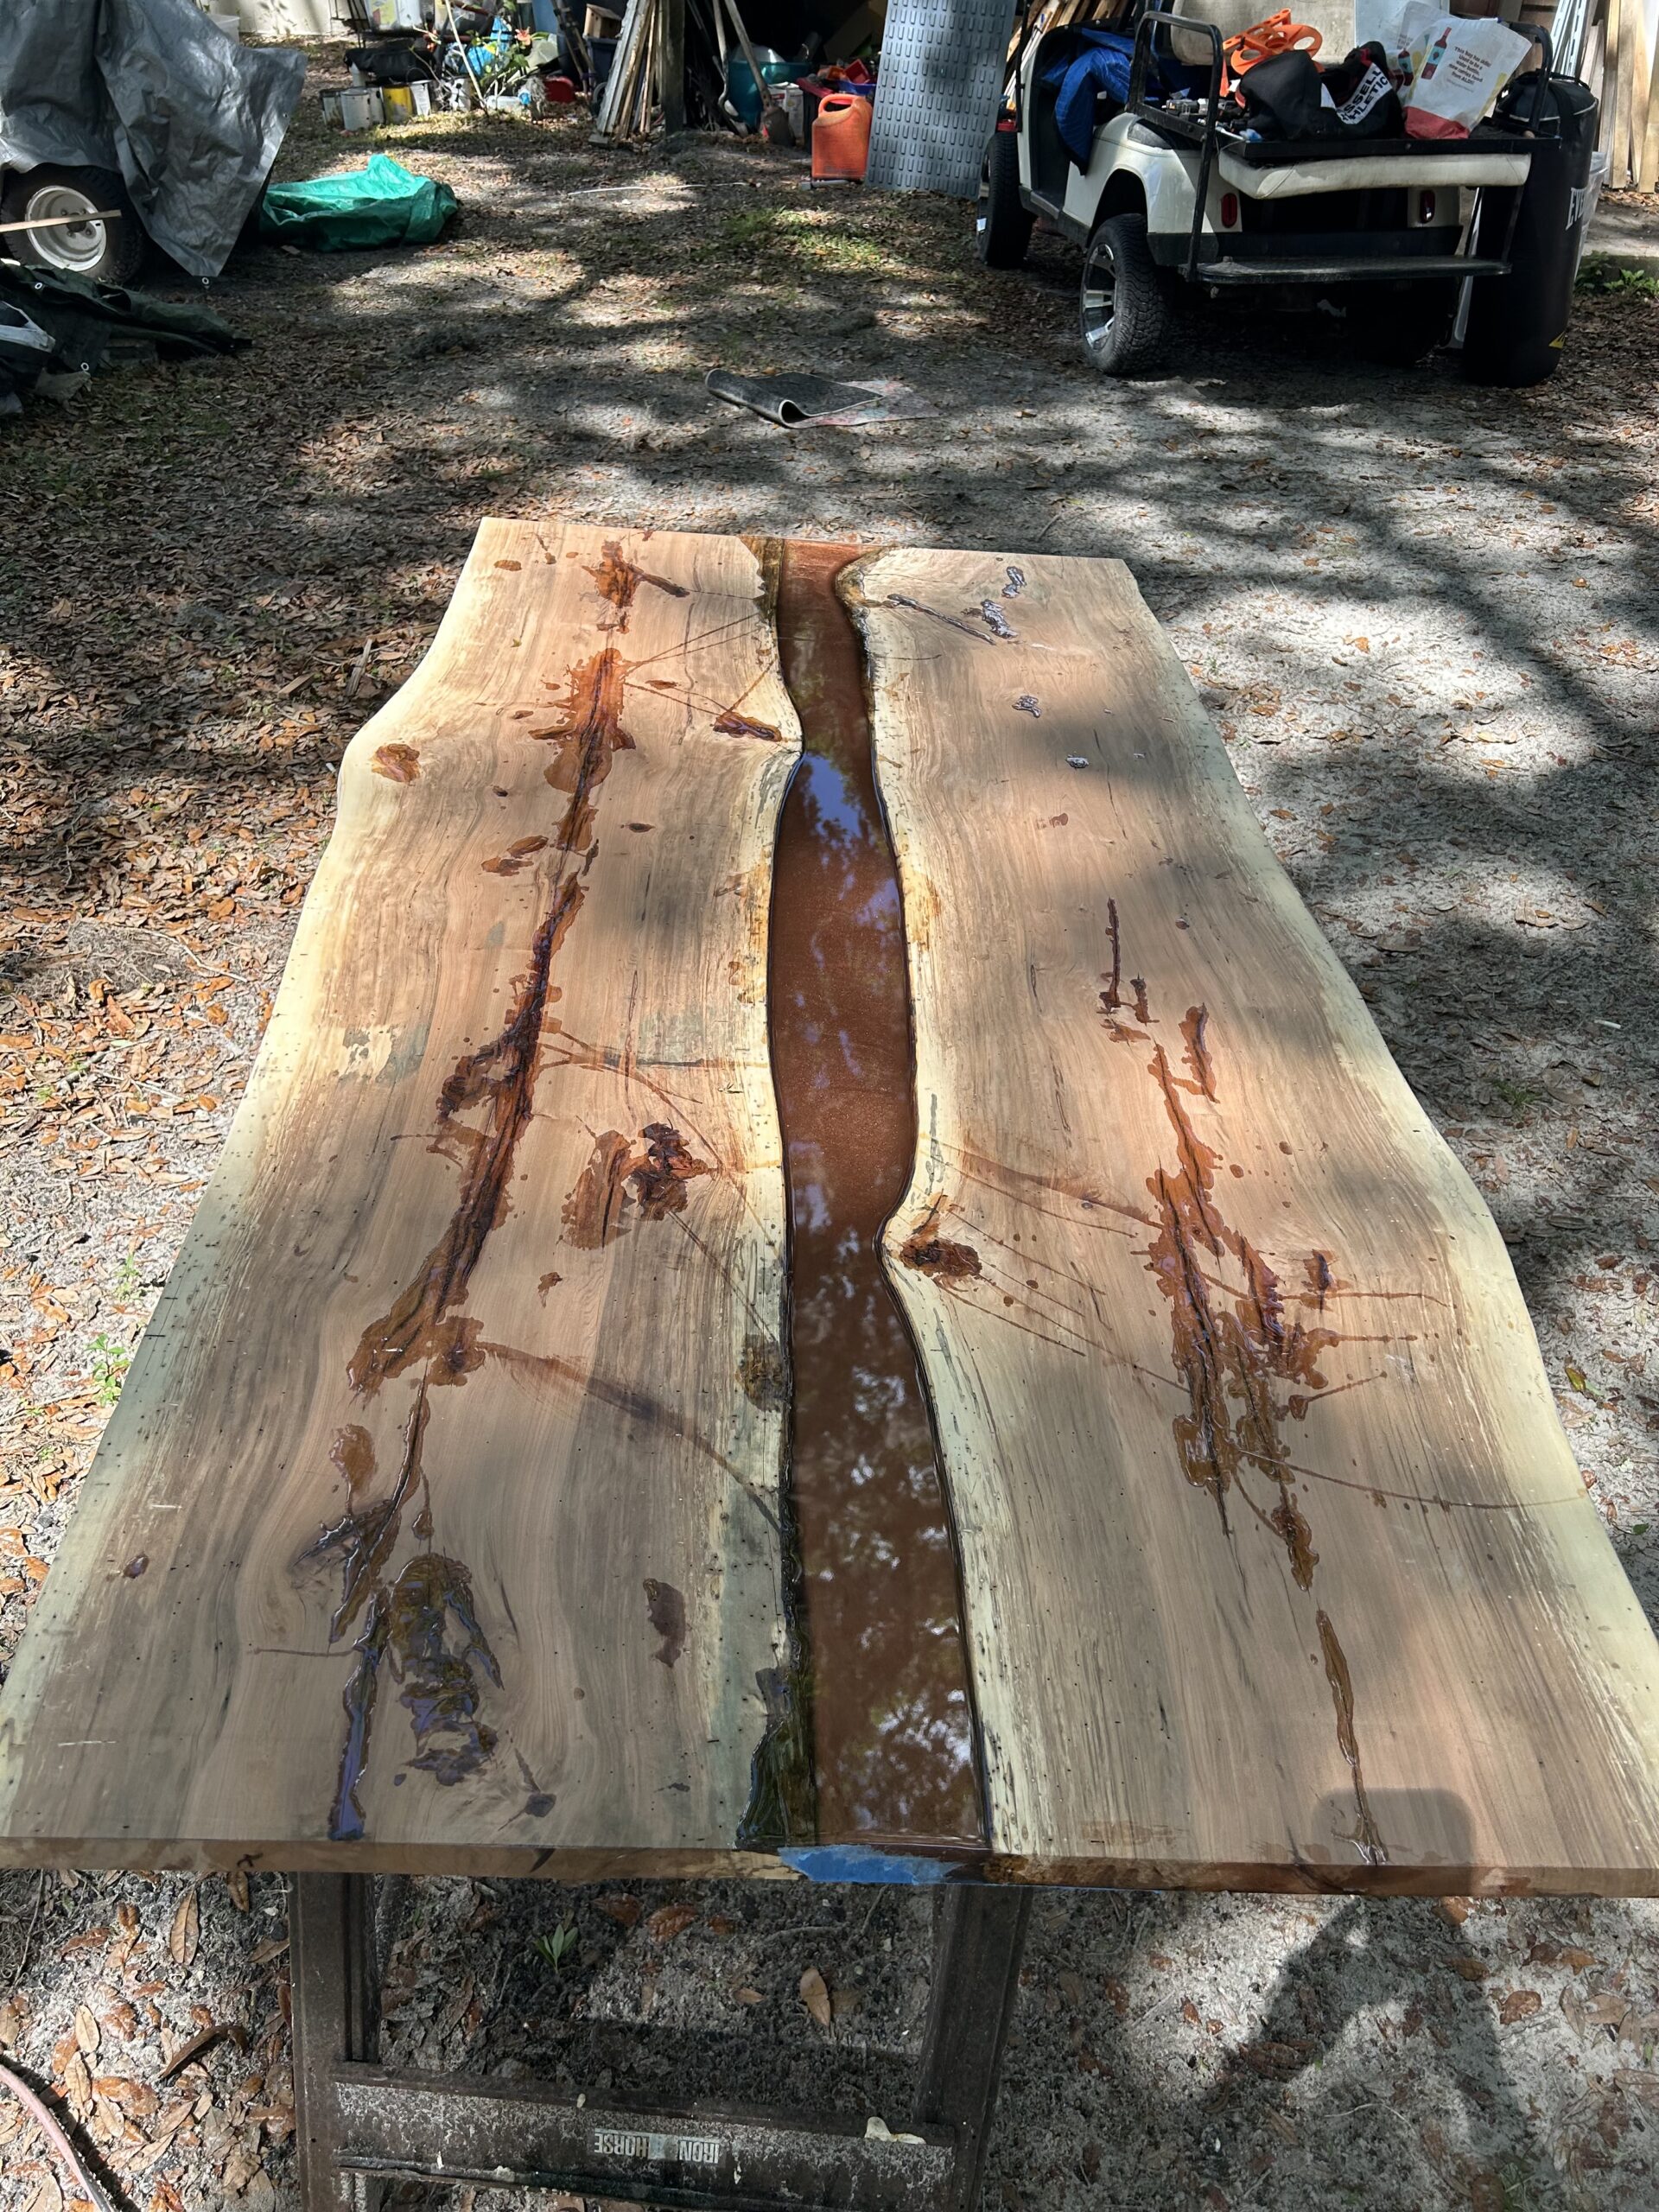
A Sneak Peek before the finish...
I skipped a few steps to get to this photo, as you can see the epoxy river has been poured already. Perhaps we can go into that process in another post, but for today we skip forward. (Pretend your watching the food network, one minute it’s batter in a bowl and the next the cake is popping out of the oven!)
The epoxy forms a stronger bond than glue and helps you create the perfect “river” table. Pigment powders come in all colors of the rainbow and turn the clear epoxy into that brilliant beautiful colorful river.

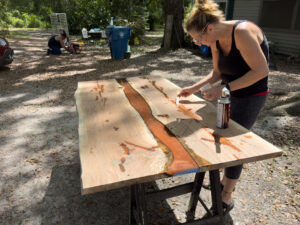
A Sneak Peek at the artist at work... Don't tell her though, she don't like her picture taken!
Pouring the river is just one step in the intricate process of creating stunning live edge tables like the one being created here. These unique pieces of wood often come with minuscule pin holes and natural cracks that require meticulous attention to detail. Shelley expertly fills these imperfections with epoxy, ensuring a seamless finish. But that’s just the beginning. The journey to perfection involves countless hours of filling, sanding, and repeating the process until every flaw is eradicated.
It’s not as simple as the quick transformations we see on food network shows, where a slab of wood magically turns into a finished table in a matter of minutes. No, the truth is far more captivating. It takes dedication, patience, and true craftsmanship to transform a dried slab into the magnificent masterpiece that is our finished tabletop. This artistic transformation can span weeks, or even months, as I pour my passion into every single project.

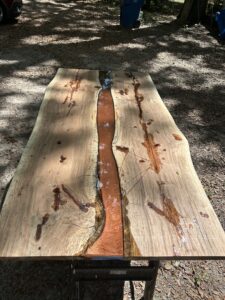
A Sneak Peek at the "almost completed" Tabletop...
This beautiful table was custome made with Sweetgum & Copper Epoxy/Resin and measuring 6′ x 36″. This tabletop was finished with satin polyurathane. The picture above is the finished top without the legs.
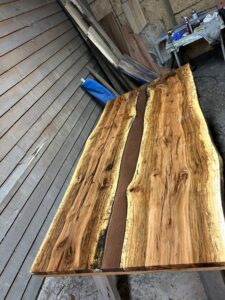
The photo below is table with the custom legs the customer picked out! I will do a follow up post with more pictures of the finished piece as well as a pic or two of the piece in its new home!
Until then my friends…. be safe and make something beautiful!